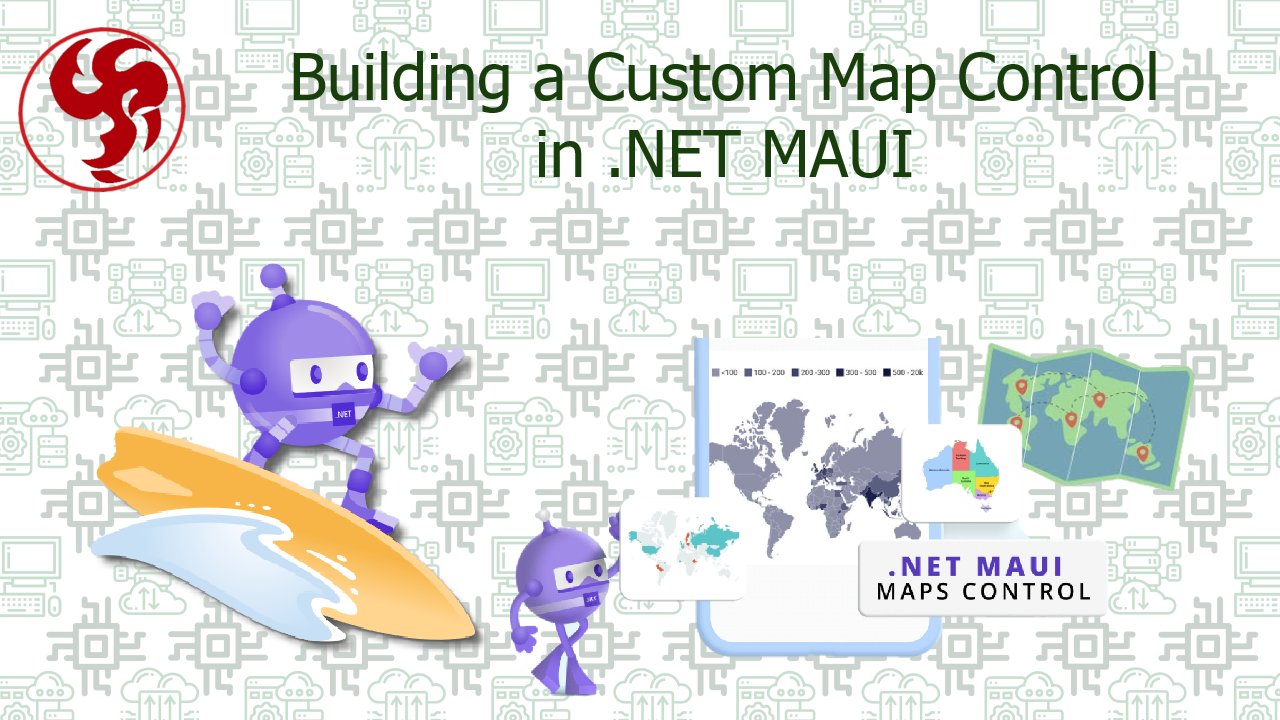
Building a Custom Map Control in .NET MAUI
🗺️ Building a Custom Map Control in .NET MAUI
With Overlays and Interactive Elements
Maps are no longer just about displaying locations—they are interactive canvases for delivering rich user experiences. From logistics 🚚 to fitness tracking 🏃 and real-time monitoring 📡, modern apps demand more than pins and markers. When working with .NET MAUI, the built-in map capabilities are useful—but limited when you need:
- Custom overlays (routes, heatmaps, polygons) 🎨
- Interactive UI elements on top of the map 🧩
- Real-time updates and animations ⚡ 👉 That’s where building a custom map control becomes essential.
🧠 Why Go Custom?
The default MAUI Map control is great for:
- Basic pins 📍
- Simple navigation But it struggles with:
- ❌ Advanced overlays
- ❌ High interactivity
- ❌ Complex UI composition A custom implementation gives you:
- Full control over rendering 🎯
- Platform-specific optimizations ⚙️
- Extensibility for future features 📈
🏗️ Architecture Overview
A clean architecture for a custom map control looks like this:
UI Layer (MapPage / ViewModel)
        ↓
CustomMapControl (Shared Logic)
        ↓
Platform Handlers (Android / iOS / Windows)
🧩 Step 1: Define the Custom Control
Create a reusable control that extends MAUI’s View:
public class CustomMapView : View
{
    public IList<MapPin> Pins { get; set; } = new List<MapPin>();
    public IList<MapOverlay> Overlays { get; set; } = new List<MapOverlay>();

    public event EventHandler<MapPin> PinTapped;

    public void OnPinTapped(MapPin pin)
    {
        PinTapped?.Invoke(this, pin);
    }
}
📦 Supporting Models
public class MapPin
{
    public string Id { get; set; }
    public string Label { get; set; }
    public double Latitude { get; set; }
    public double Longitude { get; set; }
}

public class MapOverlay
{
    public string Id { get; set; }
    public List<(double Lat, double Lng)> Points { get; set; }
}
⚙️ Step 2: Create Platform Handlers
.NET MAUI uses Handlers instead of renderers.
🤖 Android Handler
public class CustomMapHandler : ViewHandler<CustomMapView, MapView>
{
    protected override MapView CreatePlatformView()
    {
        return new MapView(Context);
    }

    protected override void ConnectHandler(MapView platformView)
    {
        base.ConnectHandler(platformView);

        platformView.GetMapAsync(new MapReadyCallback(VirtualView));
    }
}
🍏 iOS Handler
public class CustomMapHandler : ViewHandler<CustomMapView, MKMapView>
{
    protected override MKMapView CreatePlatformView()
    {
        return new MKMapView();
    }

    protected override void ConnectHandler(MKMapView platformView)
    {
        base.ConnectHandler(platformView);

        platformView.DidSelectAnnotationView += (s, e) =>
        {
            // Handle pin tap
        };
    }
}
🎨 Step 3: Adding Overlays
🧪 Drawing Polylines (Routes)
var polyline = new Polyline
{
    StrokeColor = Colors.Blue,
    StrokeWidth = 5
};

foreach (var point in overlay.Points)
{
    polyline.Geopath.Add(new Location(point.Lat, point.Lng));
}
🧪 Drawing Polygons
var polygon = new Polygon
{
    StrokeColor = Colors.Red,
    FillColor = Colors.Red.WithAlpha(0.3f)
};
🧩 Step 4: Interactive Elements
📍 Handling Pin Taps
customMap.PinTapped += (s, pin) =>
{
    Console.WriteLine($"Tapped: {pin.Label}");
};
🖱️ Gesture Integration
You can layer gestures on top:
var tapGesture = new TapGestureRecognizer();
tapGesture.Tapped += (s, e) =>
{
    // Custom interaction
};

customMap.GestureRecognizers.Add(tapGesture);
🧱 Step 5: Overlay UI Layer (Advanced)
One powerful pattern is stacking UI on top of the map:
<Grid>
    <local:CustomMapView x:Name="Map" />

    <StackLayout VerticalOptions="End">
        <Button Text="Center Map" />
    </StackLayout>
</Grid>
⚖️ Built-in Map vs Custom Control
📊 Comparative Table
| Feature | Built-in Map 🗺️ | Custom Control 🧩 |
|---|---|---|
| Pins | ✅ | ✅ |
| Overlays | ⚠️ Limited | ⭐⭐⭐⭐⭐ |
| Interactivity | ⭐⭐ | ⭐⭐⭐⭐⭐ |
| Flexibility | ⭐⭐ | ⭐⭐⭐⭐⭐ |
| Complexity | ⭐ | ⭐⭐⭐⭐ |
🧠 Best Practices
✅ 1. Separate Logic from Rendering
Keep business logic out of handlers.
✅ 2. Use Partial Classes for Platform Code
public partial class MapRenderer
{
    public partial void DrawOverlay(MapOverlay overlay);
}
✅ 3. Optimize Performance ⚡
- Limit redraws
- Use batching for overlays
- Avoid excessive UI updates
✅ 4. Handle Permissions
Maps often require:
- Location access 📍
- Background services
✅ 5. Think in Layers
Treat your map like a rendering engine:
- Base map
- Overlays
- UI layer
🧱 Advanced Patterns (PRO Level)
🔄 Real-Time Updates
Device.StartTimer(TimeSpan.FromSeconds(2), () =>
{
    UpdateMap();
    return true;
});
📡 Heatmaps & Data Visualization
- Use gradients 🎨
- Aggregate data points
- Render via canvas overlays
🔗 Reference Links
- https://learn.microsoft.com/dotnet/maui/
- https://learn.microsoft.com/dotnet/maui/user-interface/controls/map
🗺️ Final Thoughts
Building a custom map control in .NET MAUI transforms your app from a simple location viewer into a fully interactive spatial experience.
👉 You’re not just placing pins anymore…
👉 You’re designing a map-driven UI platform.
If you architect it correctly, your map becomes one of the most powerful components in your application. ⚡
Was this useful?
Sign in to react. Guest comments are still welcome.
Related Posts

Comments (0)
No approved comments yet.